Podcast: Play in new window | Download
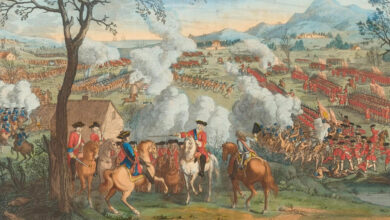
In the First War of Scottish Independence, one of the key battles was the Battle at Stirling Bridge which took place on September 11, 1297. The Scottish soldiers were able to defeat the English Army near the town of Stirling on the River Forth despite being outnumbered.
The bridge at Stirling was a narrow, two-lane wooden bridge. In 1297, that meant a horse in each lane. The English army of King Edward I was commanded by John de Warenne, the 6th Earl of Surrey; and Hugh de Cressingham, the treasurer of Scotland, appointed to his post by the King. It was comprised of English, Welsh, and Scottish infantry and bowmen and numbered over 10,000, including between 200 and 300 cavalry soldiers. It had been decided that the bridge was the safest way for the army to cross the River Forth as it allowed the army to avoid the wider part of the river that lay to the East and the marshes that were on the West.
Meanwhile, the Scottish troops were commanded by William Wallace and Andrew Moray. Numbering less than the English, there were only 8,000 soldiers and 36 cavalry. They had reached the area before the English and were at Abbey Craig, watching the advance of the English from the nearby hill overlooking the reasonably flat ground.
Earlier in 1296, the English had roundly defeated the Scots and ended an uprising at the Battle of Dunbar. At the time, the Scottish troops were unorganized and easy to conquer. At the Battle of Stirling Bridge, the English were expecting the same and it could be said that they were feeling a little bit cocky and overconfident and were expecting to have little problem. The new Scottish army under their new leaders, however, were much more organized and disciplined than before and proved to be much more formidable.
Scottish knight Richard Lundie suggested to de Warrene that he should take a few cavalry members across the river to flank the Scots and provide support. This idea was not taken up though as de Cressingham wanted to conduct the battle as inexpensively and quickly as possible.
At Stirling Bridge, the English pitched their camp just South of the river and de Warrene told his troops that they were going to cross the bridge the following morning to take on the Scots. However, when dawn arrived and the soldiers started to take the bridge, de Warrene was still asleep.
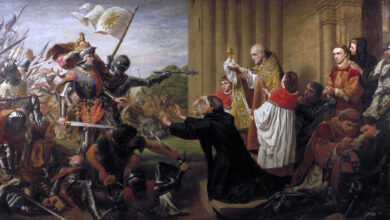
When he awoke, he went to the field and pulled his men back. He sent two Dominican friars to the Scottish soldiers to attempt a negotiation with Wallace and Moray. Wallace sent them back to de Warrene with the following message:
Tell your commander that we are not here to make peace but to do battle, defend ourselves and liberate our Kingdom. “Let them come on, and we shall prove this in their very beards”.
de Warrene responded by calling a Council of War. Lundie advised de Warrene that crossing the bridge would result in certain death. Conversely, de Cressingham advised that de Warrene should take his troops across and make quick work of dispatching the Scottish troops that waited. In the end, de Warrene ordered his troops over the bridge and put de Cressingham in the front. He waited near the river.
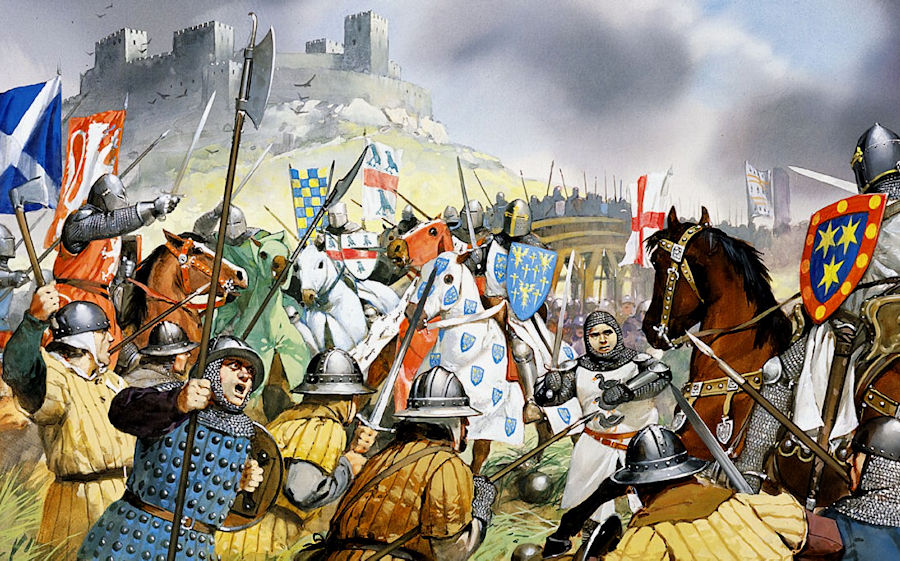
The Scottish troops laid in wait. Once approximately 5,400 of the English made it across, the Scots cut off the bridge, then they encircled and ensnared de Cressingham’s army. The cavalry struggled in the marshland, and the entire army was pushed towards the river. The remaining English soldiers were unable to cross the tiny bridge to provide any support.
The battle took just about an hour, with some of the English escaping back across the bridge, battling their way as they went, while others opted to swim across the river after ditching their armour. One of the English knights, Sir Marmaduke Tweng, was one of those able to get back across the bridge to the remnants of the English army while the rest were being annihilated.
de Warrene set the bridge on fire and cut it down so the Scots could not pursue him as he fled back to Berwick. Joining the Scots were the Earl of Lennox and the High Steward of Scotland, James Stewart, the latter credited with damaging the English supply line, causing the English to beat a hastier retreat. The remaining English soldiers surrendered to the Scots at Stirling Castle. Total losses for the English were estimated to be 6,000 on the day.
Hugh de Cressingham was killed, and legend has it that he was skinned and his flesh turned into a sword hilt for Wallace. Lundie turned back to the Scots and stayed by Wallace’s side in the Battle of Falkirk.
The Scots did suffer some losses. Moray was mortally wounded and died in November 1297 as a result of his injuries.
After the battle, William Wallace was named Guardian of Scotland in March 1298. However, his army was soundly defeated by King Edward I in the same year by a renewed English army at Falkirk.
Today, the battlefield is an historic Scottish landmark.
Podcast: Play in new window | Download